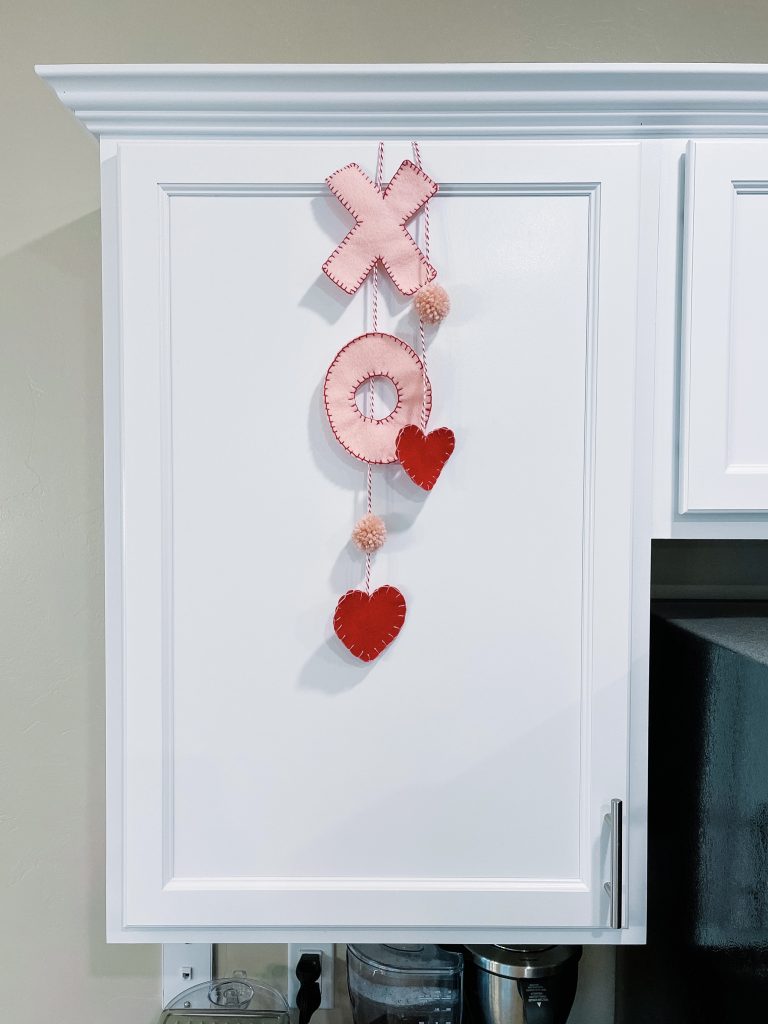

DIY craft lover here! These whimsical and festive felt cabinet hangers will add a little sprinkle your home for the holiday. Just a touch of holiday decor is what I call for throughout the year and these DIY hangers are just right. Included is a free stencil PDF to cut out your X’s O’s and hearts. Let’s get crafty 🤗
Craft Supplies
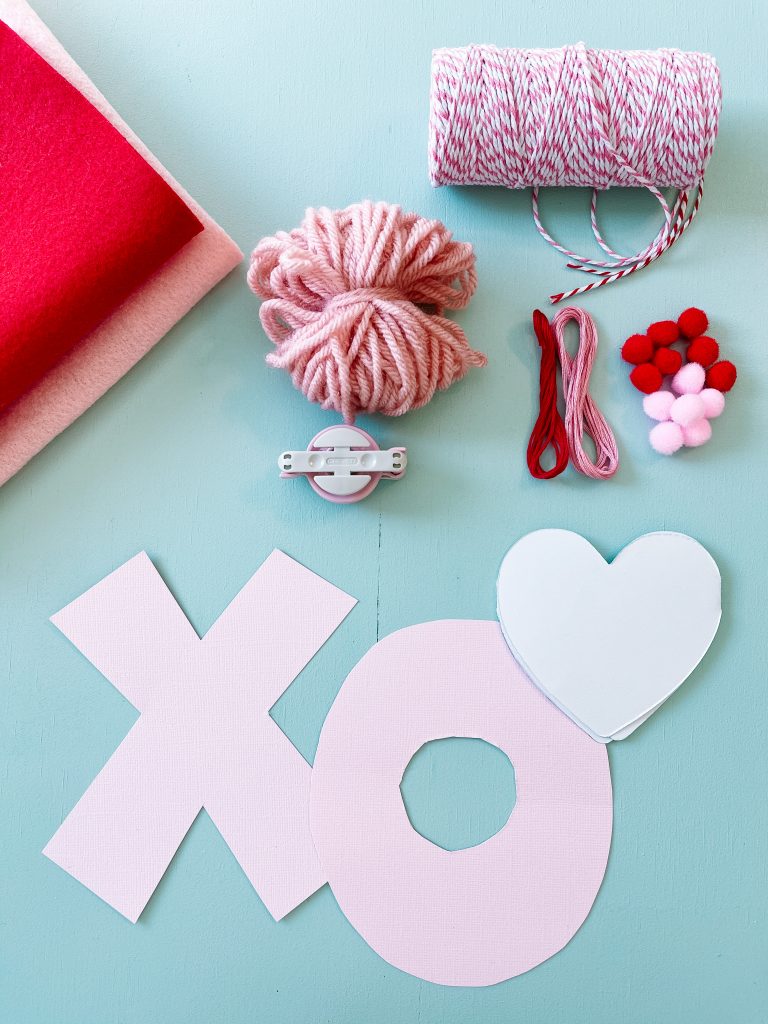
- Pink and red felt
- Stencil
- Fabric marker
- Yarn
- Pom-pom marker
- Pink and red bakers twine
- Red and pink embroidery floss
- Pink and red mini pom-poms
- Scissors
- Thread needle
- Yarn needle
- Hot glue gun and paper
- Trash
- Lint roller
- Ruler
- Command strip pack
craft steps
The amount of felt and embroidery floss you need will depend on how many cabinets you are planning to decorate. Don’t stop there, these hangers are a great addition to shelving, fireplace mantles, entryway décor, as bedside accents and more!
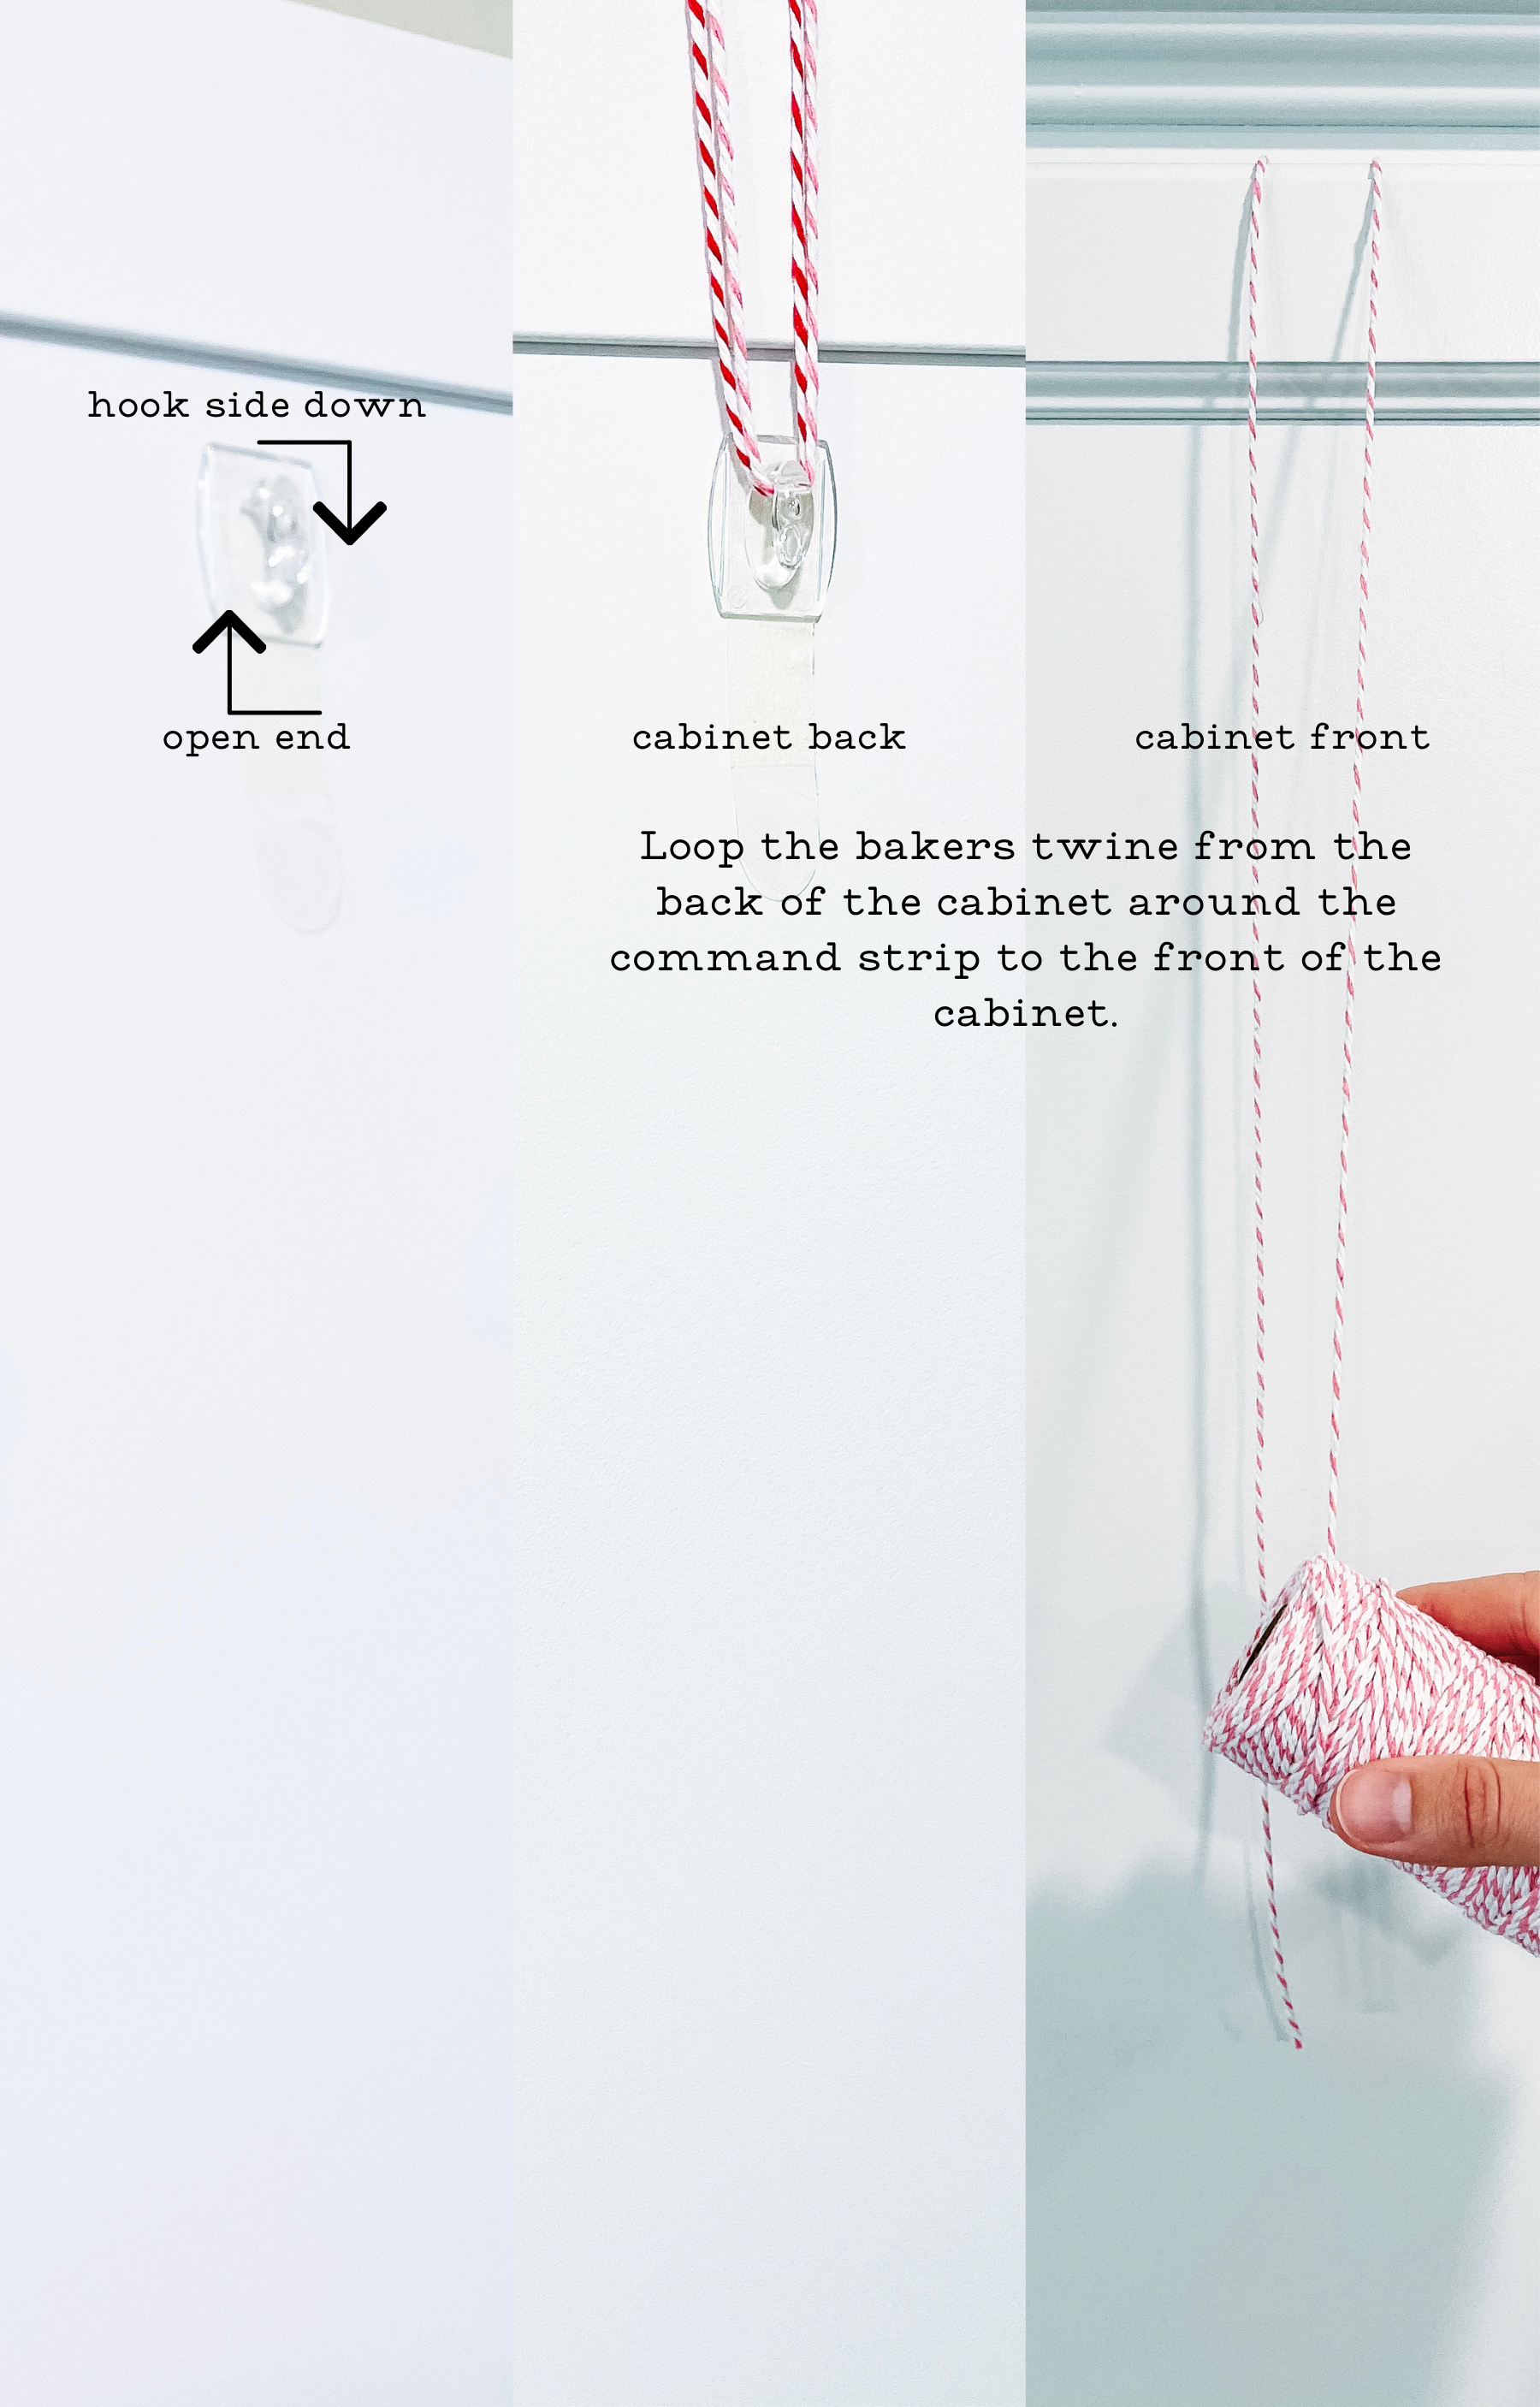
Place your command strips, hook side down, on the inside of your cabinet. Next take the bakers twine on its role and measure the length you want for your cabinet hanger.
Loop the bakers twine from the back of the cabinet around the command strip to the front of the cabinet. Cut one of each pink and red bakers twine.
Print or draw and cut out an X, O and heart from card stock or paper. I recommend using card stock rather than paper because it will not crinkle while tracing. Trace stencils onto the felt pieces and cut them out.
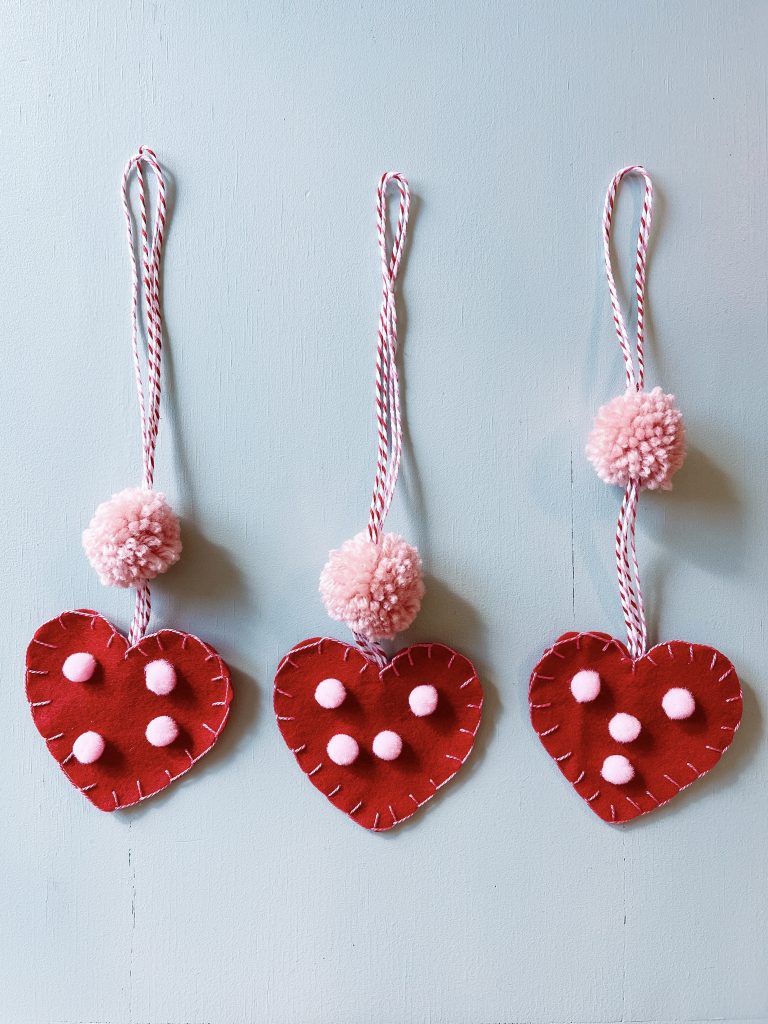
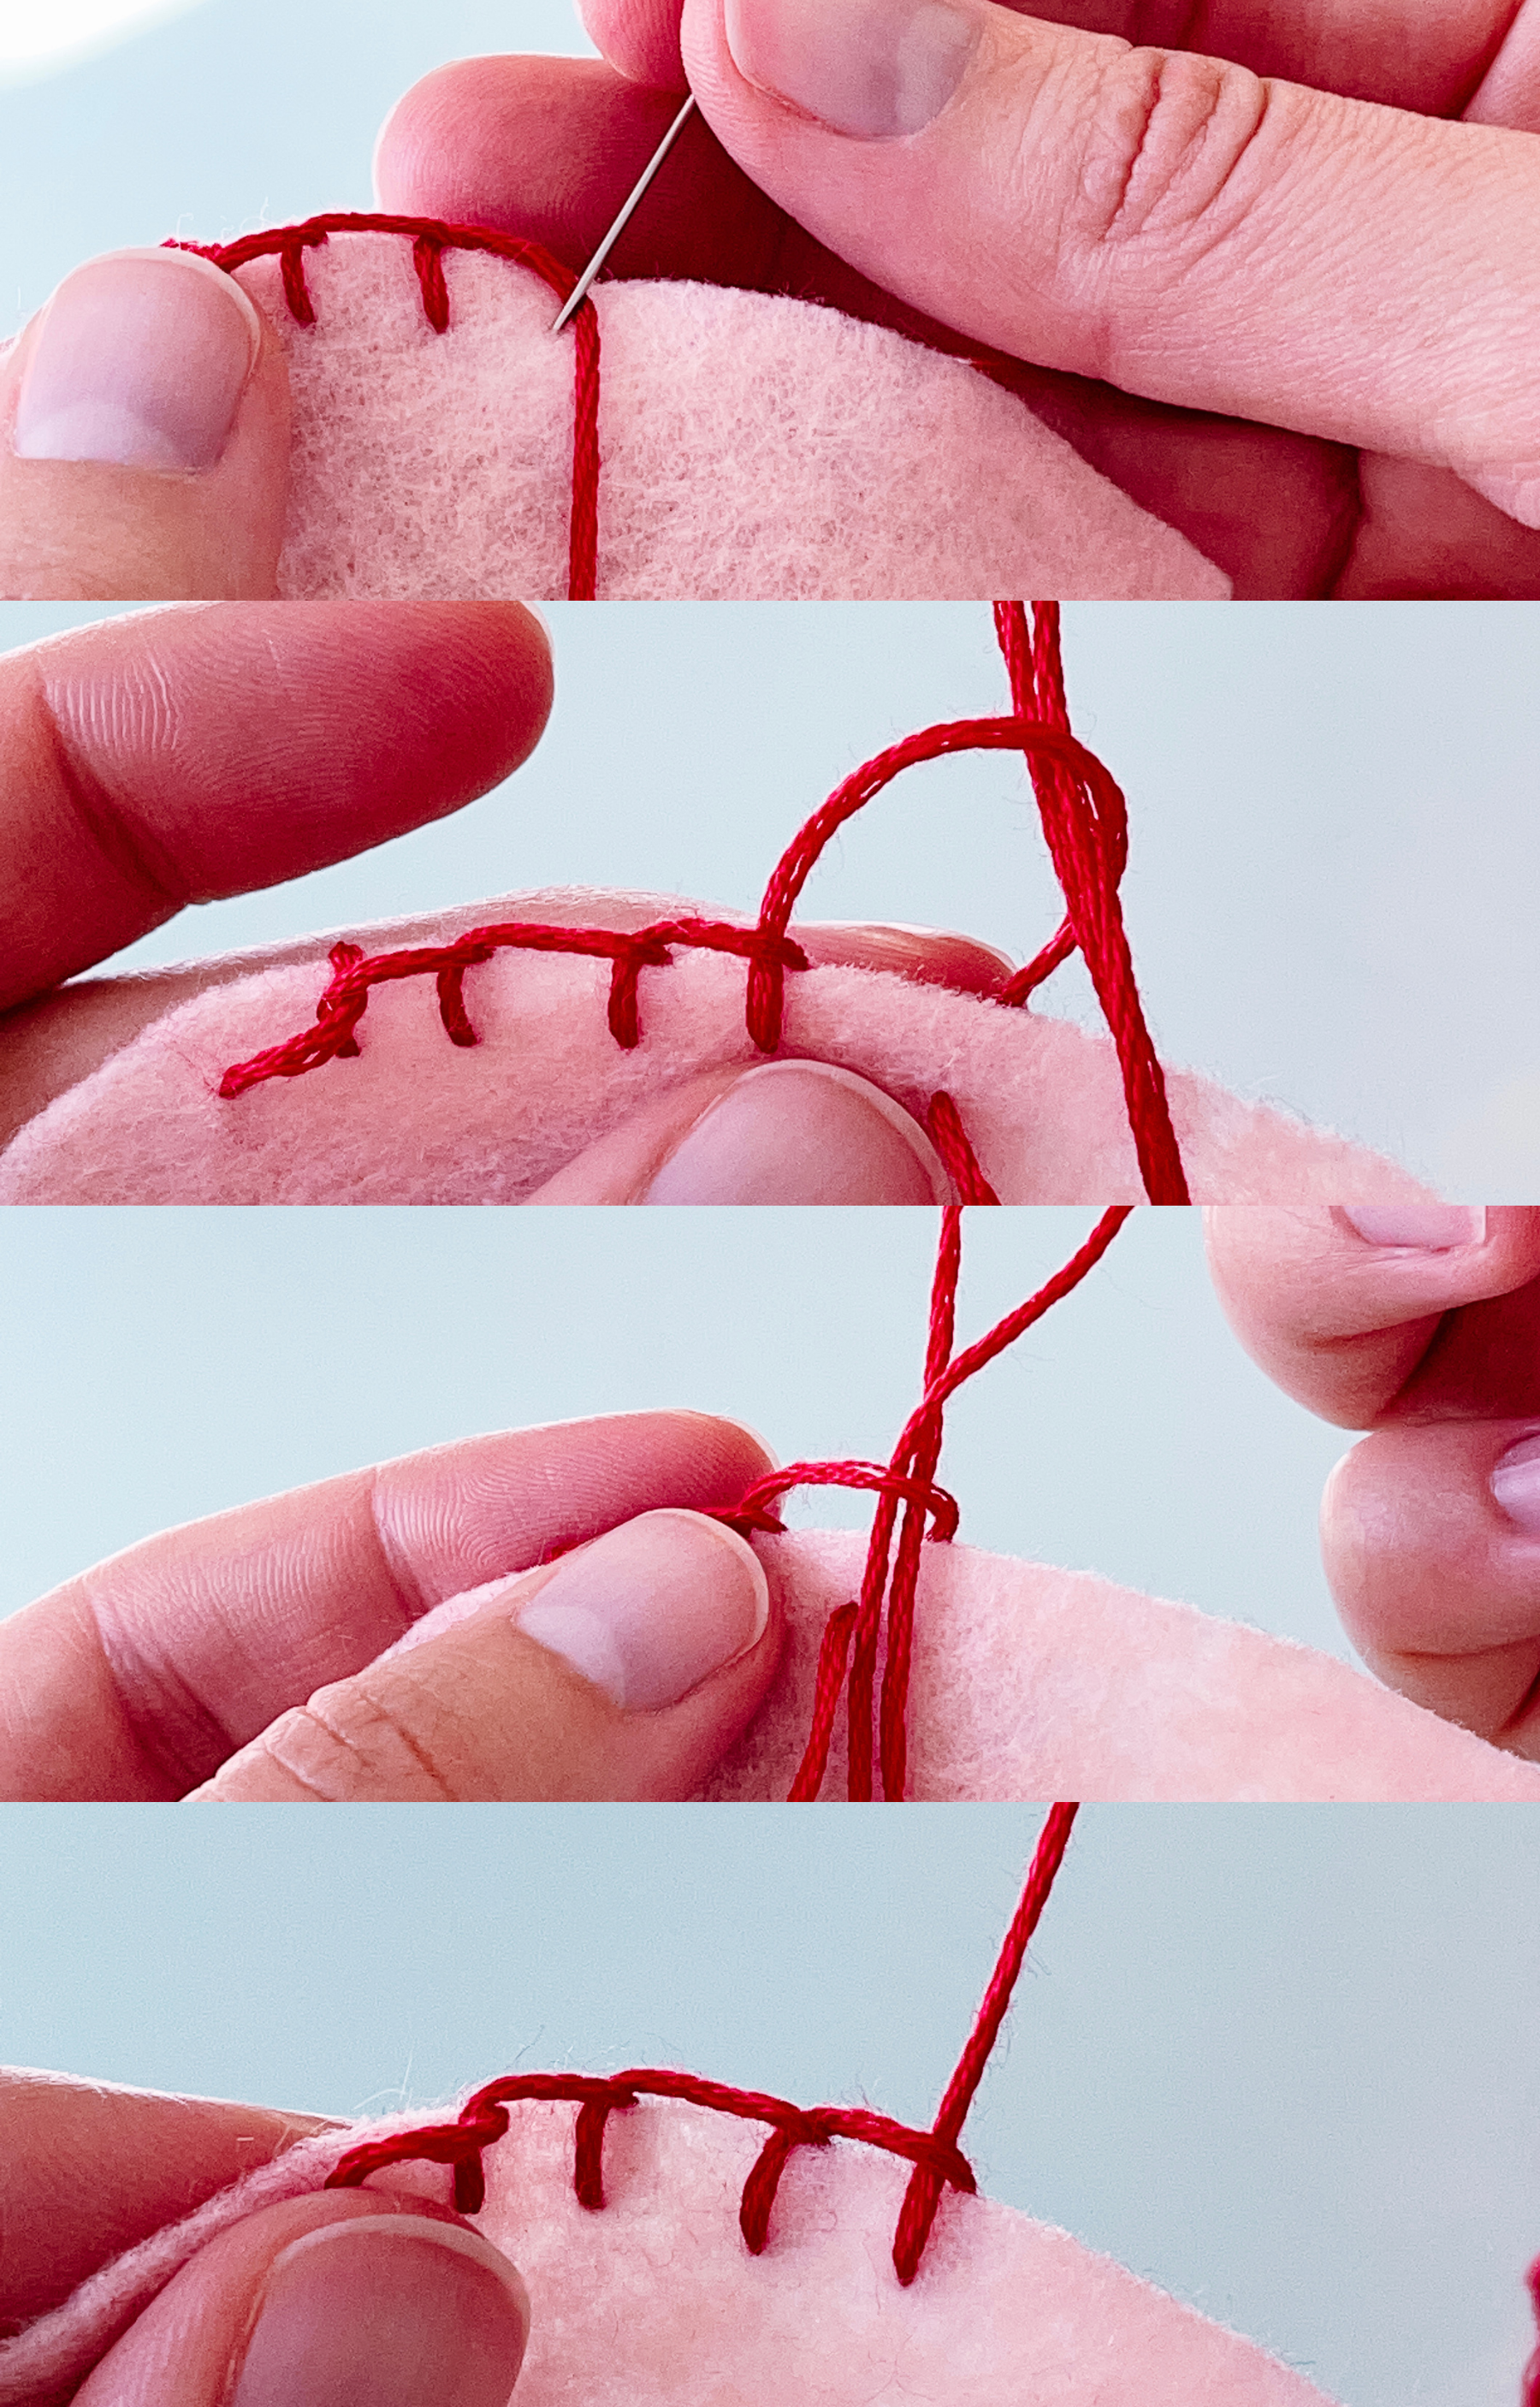
Use the thread needle and embroidery floss to create a blanket stitch around the perimeter of each felt piece.
This is the longest part of the project, grab a snack, a good drink, and your favorite audiobook or show and blanket stitch away. Don’t pressure yourself to finish blanket stitching in one day, if your fingers get sore take a break.
Following the instructions on your pom-pom maker packaging, make as many pom-poms as you need for each hanger. I used two pom-poms per cabinet hanger.
Final steps
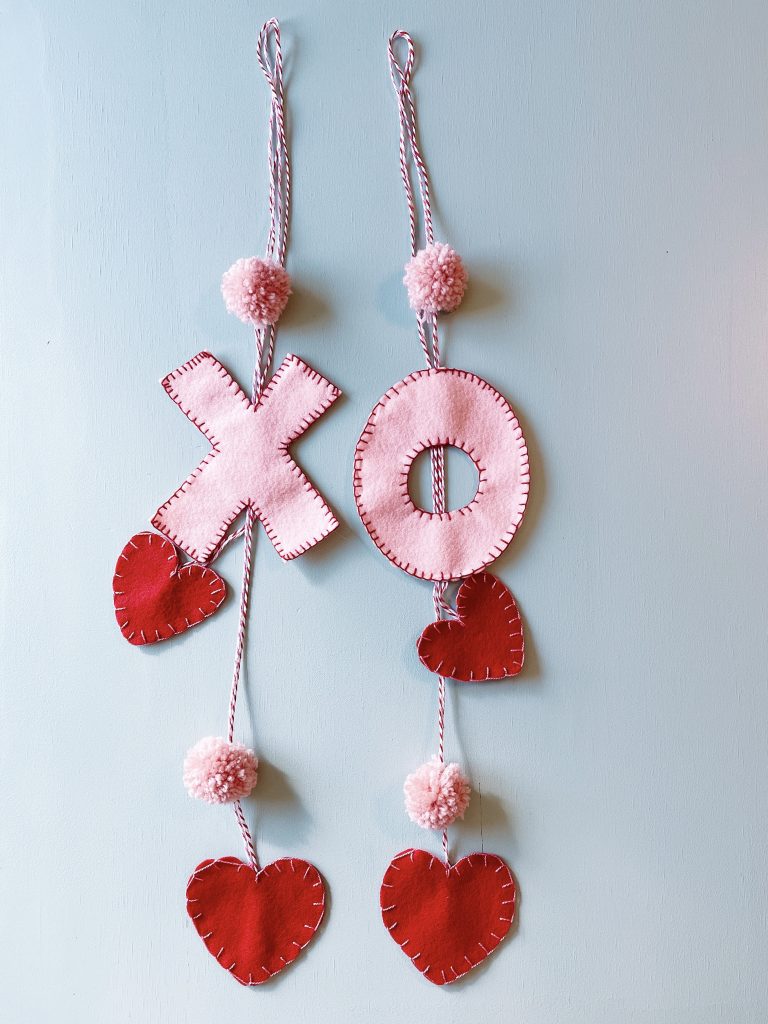
Using the yarn needle, thread the bakers twine through each pom-pom and tie a knot at each end of the bakers twine. Lay out the bakers twine as it will hang on your cabinet. Lay out the felt pieces on the bakers twine and adjust the pom-pom’s to your liking. Using the paper and hot glue gun, lay the paper underneath the felt and hot glue the bakers twine to the back of each felt piece.
Continue these final steps to complete your cabinet hangers and hang immediately! How could you not?!
I hope this step-by-step tutorial was helpful to you for creating DIY one-of-a-kind gorgeous home decor! I absolutely love these decorations and can’t wait to get started on spring set.
Thank you so much for taking the time to join me and read this post. I would love to see your creations!
Happy creating, Addy
pink and red felt | fabric marker | yarn | pom-pom maker | pink and red bakers twine |embroidery floss | pink and red mini poms | scissors | thread needle | yarn needle | hot glue gun | paper or card stock | trash | lint roller | ruler | command strip pack
*AddyJacks is a participant in the Amazon Services LLC Associates Program, an affiliate advertising program designed to provide a means for sites to earn advertising fees by advertising and linking to Amazon.com*